How to Add an WordPress Announcement Bar?
When you visit a popular blog or website, you may notice that they tend to show you a message before you read the content. Usually, this is called a simple message or a pop-up. You can close it and move on to the site, but for the site owner it’s an opportunity to advertise, welcome new users, or show a message to their followers.
Adding announcements to website is an effective way to draw attention and engagement from users. Today we will show you how to embed WordPress announcement in your personal blog!
Why Do We Need Notifications?
Notifications that websites often use in the upper corner of the page are extremely effective because they are easy to spot due to their proximity to the search bar, similar to the lower corner of the screen due to their proximity to the operating system’s taskbar.
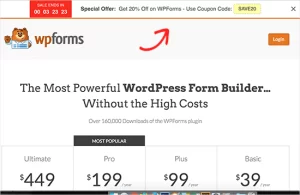
You can use it to advertise, offer promotions, gather information, or simply announce new posts on your blog. In addition, you can add visual effects or countdown timer to make your notifications more attractive.
Method 1: Using OptinMonster Plugin
OptinMonster is a very popular engagement tool and the best WordPress popup plugin at the moment. However, it requires you to pay a fee to use the service.
Step 1: Download and activate OptinMonster plugin (see instructions)
Step 2: Click on the ‘OptinMonster’ option on the WordPress navigation bar to go to the customization page.
Step 3: Get the API key from your OptinMonster account and connect at the plugin to link with WordPress as shown below
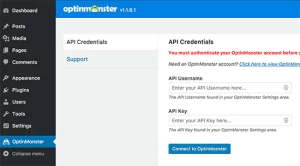
Step 4: select OptinMonster on the navigation bar and then select Create New Optin
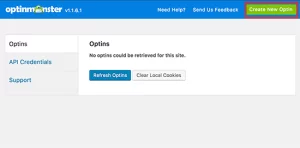
Now OptinMonster has created an optin for you
Step 5: Name the campaign and add the web URL. Then choose Floating bar as the optin format
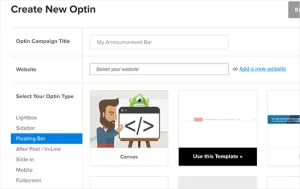
Step 6: Choose an optional optin template (you can still change it later if you want), then OptinMonster will run the design interface so you can design the message to suit your liking by choosing an object can be on Floating bar to customize.
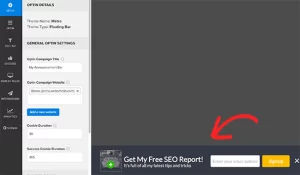
You can also change the position of the floating bar by moving it to the top of the screen (Select Design Fields and activate Load Floating Bar at Top of Page?)
Step 7: Once you are satisfied with your design, select Campaign >> resume Campaign
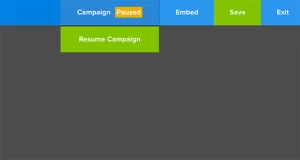
Step 8: choose save to save and exit optin builder
Step 9: Go to the WordPress admin area, select OptinMonster, now you will see the optin you just created (If you don’t see it, click the Refresh Optins button) select edit output settings.
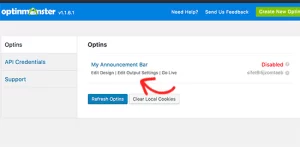
In this section, select the check box under Enable optin on site?, then select the optin audience. Also when selecting Advanced Settings, you can choose between hiding or showing notifications on any page or post in your WordPress system.

Select save to save the customization options and now you have a notification bar for your blog!
Method 2: Use Simple Notices
This way is much faster, but of course it will have a lot of limitations compared to OptinMonster.
Step 1: Download and activate the Simple Notices plugin (see instructions)
Step 2: In the WordPress admin area, select Notices
Step 3: Select Notices >> Add New to display the notice on the web, quite similar to how to post a blog on WordPress.
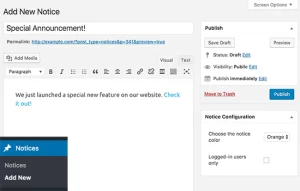
Step 4: Name the notification and attach a caption to the notification, in addition, you can change the color to the notification and choose for everyone to see the notification or only those who are logged in to see it. Remember to click Publish to save your customizations.
The result will look like this

Hopefully after this article, you can add WordPress announcement bar on your site and increase engagement for your WP users. Do not forgot to follow closely our site to get more tricks!


![Async Await c# Error Handling [SOLVED!]](https://mycodebit.com/wp-content/uploads/2023/10/rich-tervet-q2GNdFmhxx4-unsplash-360x240.jpg)

![How to Handle Divide by Zero Error in c# [Complete Guide]](https://mycodebit.com/wp-content/uploads/2023/10/clement-helardot-95YRwf6CNw8-unsplash-360x240.jpg)
